Req 2 — Build & Fly
This is where you take everything you have learned about lift, drag, thrust, and weight and put it to the test with your own hands. You will pick one of the three options below, build (or obtain) a flying machine, and fly it. Each option teaches a different set of skills.
Option A: Build an FPG-9 Glider
An FPG-9 (Foam Plate Glider — 9 inch) is a simple, elegant glider made from a foam plate. It has no engine — you launch it by hand, and it glides on lift and momentum alone. The beauty of the FPG-9 is that small adjustments to the wing shape, tail angle, or center of gravity can dramatically change how it flies.
What you will need:
- A 9-inch foam plate (the kind used for picnics)
- Scissors
- A ruler
- A pen or marker for tracing the template
Tips for a great FPG-9:
- Keep the cuts clean and symmetrical. Even a small unevenness can cause the glider to veer off course.
- Adjust the elevon (the small tab at the back) up or down to control whether the glider climbs, dives, or flies level.
- Move a small piece of clay or tape to the nose to adjust the center of gravity. A nose-heavy glider dives; a tail-heavy glider stalls.
Running the competition: Set up a target landing zone (a hula hoop or a taped circle works great) and have each Scout launch from the same spot. Score based on how close each glider lands to the target. This tests precision and consistency, not just distance.
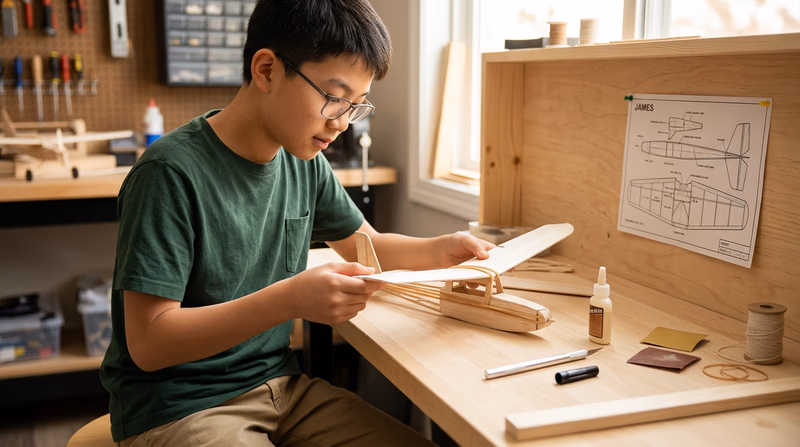
Option B: Build a Rubber-Band Airplane
A rubber-band powered balsa wood airplane uses a wound-up rubber band to spin a propeller, providing thrust. As the rubber band unwinds, the propeller pulls the airplane forward through the air, and the wings generate lift — just like a real piston-powered airplane.
What you will need:
- A balsa wood airplane kit (available at hobby shops and online) or individual balsa wood sheets, sticks, and a propeller kit
- Rubber bands (the long, thin kind designed for model aircraft)
- A small propeller and hook assembly
- Glue, sandpaper, and a craft knife
Tips for straight-line flight:
- Make sure the wing is mounted perfectly level and centered on the fuselage. A crooked wing makes the airplane turn.
- Adjust the thrust line — the direction the propeller pulls. If the airplane curves left, angle the propeller slightly to the right, and vice versa.
- Add a tiny amount of “up thrust” (angling the propeller slightly upward) to prevent the airplane from diving when power is on.
- Wind the rubber band consistently. More winds = more thrust, but too many can break the band.
Achieving 25 feet in a straight line: This takes patience and many test flights. Launch gently — do not throw the airplane. Let the propeller do the work. Adjust after every flight until the airplane tracks straight.
Option C: Fly a Powered Model or Drone
This option puts you in the pilot’s seat of a powered model airplane or a drone. Before you fly, though, there is an important legal requirement: you must pass The Recreational UAS Safety Test (TRUST).
What is TRUST? TRUST stands for The Recreational UAS Safety Test. It is a free, online knowledge test required by the FAA for all recreational drone and model aircraft pilots in the United States. The test covers airspace rules, safety guidelines, and FAA regulations. It typically takes 20–30 minutes to complete.
Getting your TRUST certification: The FAA has approved several free test providers. Visit the FAA’s TRUST page for a list of approved providers. The test is free and you receive a completion certificate immediately.
Tips for a successful flight:
- Read the manual for your specific aircraft or drone before powering it on.
- Find an open area free of obstacles, people, and overhead wires.
- Start with a hover (for drones) or a low-altitude pass (for airplanes) before attempting a full takeoff-and-landing cycle.
- Check wind conditions — gusty winds are challenging for beginners.
- Always perform a pre-flight check: battery charge, propeller condition, control response.