Req 6d — Cook on the Trail
6d.
While on a trail hike or backpacking trip, prepare and serve two meals and a snack from the menu planned for this requirement. At least one of those meals must be cooked over a fire, or an approved trail stove (with proper supervision).
You are on the trail with your group, your food is packed, and it is time to cook. Trail cooking is the ultimate test of preparation — everything you planned at home is now being executed in the field with minimal equipment and no second chances to run to the store.
Setting Up Your Trail Kitchen
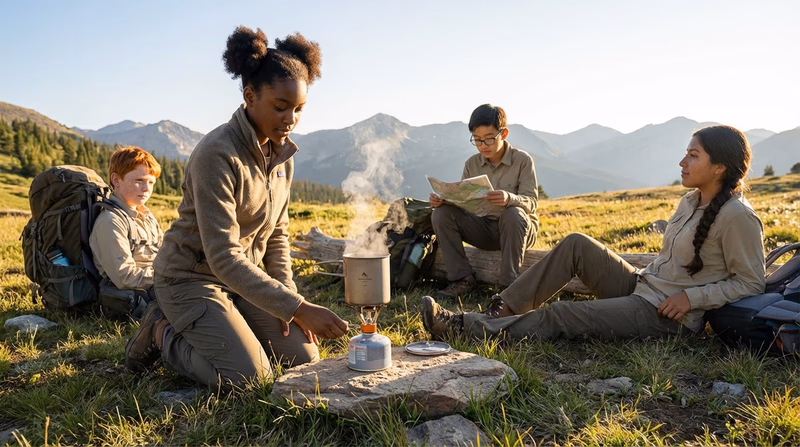
When you stop to cook, choose your location carefully:
- Find a flat, stable surface for your stove (a flat rock, bare ground, or a log bench).
- Set up at least 200 feet from water sources to protect them from spills and gray water.
- Position yourself upwind so smoke blows away from you and your cooking area.
- In bear country, cook at least 200 feet from where you will sleep.
Cooking the Hot Meal
At least one of your two meals must be cooked using a fire or trail stove. Here is your workflow:
- Set up and stabilize your stove on a flat surface. If using a canister stove, make sure the canister is securely threaded and the pot sits stable.
- Purify your cooking water if you are using water from a natural source.
- Boil water — most trail meals are designed around boiling water and adding it to dried ingredients.
- Follow your pre-written instructions on the zip-lock bags you prepared at home.
- Let food rehydrate for the specified time (usually 5–15 minutes) before eating.
- Eat directly from the bag or pot to minimize dishes.
Serving the No-Cook Meal
Your second meal (likely lunch) should not require a stove. Serve it quickly so you can keep moving:
- Distribute portions from the zip-lock bags you prepared at home.
- Use the “assembly line” approach — one person lays out tortillas, another spreads peanut butter, another adds toppings.
- Eat at a comfortable spot with a view — trail lunches are a chance to enjoy the scenery.
Serving the Snack
Distribute snacks from the pre-portioned bags. Trail snacks are best served during a rest break — a chance to refuel, hydrate, and check on your group’s energy levels.
Trail Cooking Tips
- Conserve fuel. Use a lid on your pot to boil water faster and use less fuel. Know how much fuel you have and how many meals it needs to cover.
- Conserve water. Plan your water usage for cooking, drinking, and cleanup. Know where your next water source is.
- Minimize dishes. Eat from the pot, eat from the bag, or use a single bowl. Fewer dishes means less water used for cleanup and less weight to carry.
- Pack out everything. Every zip-lock bag, every wrapper, every scrap of food goes into your trash bag and comes out with you.