Req 3 — CAD Design
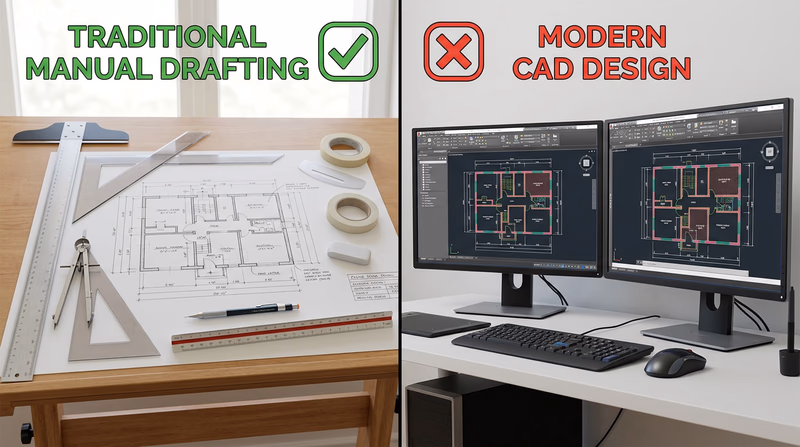
Now you shift from pencil and paper to a computer screen. Computer-aided design (CAD) software lets you create precise drawings using a mouse, keyboard, and digital tools that replace your T-square, triangles, and compass. You will choose one of the same three drawing types — architectural, mechanical, or electrical — and produce a CAD version.
Remember: you only need to complete ONE of these options. You may choose the same type you drew by hand in Requirement 2 (which makes comparison easier) or try a different type to broaden your experience.
Option A: Architectural CAD Drawing
In CAD, you draw at full scale — a 12-foot wall is drawn as 12 feet in the software. The program handles scaling when you print or export the drawing. This is one of the biggest advantages of CAD over hand drawing: you never have to calculate scale conversions while you draw.
Architectural CAD features to use:
- Layers — Put walls, dimensions, text, and symbols on separate layers so you can control what is visible
- Snap and grid — Lock your cursor to grid points for precise placement
- Dimension tools — The software calculates and displays measurements automatically
- Hatch patterns — Fill wall sections with patterns to indicate materials (concrete, insulation, etc.)
- Blocks/symbols — Insert pre-made door, window, and fixture symbols from a library
Option B: Mechanical CAD Drawing
Mechanical CAD shines when you need precise geometry and easy modifications. Drawing a circle in CAD is a matter of clicking a center point and typing a radius. Drawing that same circle by hand requires a compass, a steady hand, and hope that you do not smudge it.
Mechanical CAD features to use:
- Precise input — Type exact coordinates and dimensions instead of measuring with a ruler
- Mirror and array — Create symmetrical features or patterns of holes instantly
- Section views — Cut through your object to show interior details
- Automatic BOM — Some programs can generate a bill of materials from your drawing data
Option C: Electrical CAD Schematic
Electrical schematics are where CAD truly outshines hand drawing. Schematic capture software includes libraries of standard component symbols — resistors, capacitors, transistors, integrated circuits — that you simply drag into place and connect with wires. The software can also check your circuit for errors, generate netlists for circuit board layout, and produce a bill of materials automatically.
Electrical CAD features to use:
- Symbol libraries — Drag standard IEEE/ANSI component symbols onto your schematic
- Wire routing — Draw connections between components with automatic corner handling
- Net labels — Name connections (like “VCC” or “GND”) so the software tracks them even if wires are not visually connected
- BOM export — Generate a bill of materials directly from the schematic
Choosing CAD Software
You have several options for CAD software, ranging from free to professional-grade. Here are the most accessible choices for a Scout working on this badge:
Free Options
Onshape (Free Education Plan) Cloud-based 3D CAD — runs in a web browser, no installation required. Free for students and educators. Excellent for mechanical drawings. LibreCAD Free, open-source 2D CAD software. Works on Windows, Mac, and Linux. Good for architectural and mechanical 2D drawings. KiCad Free, open-source electronics CAD for schematic capture and PCB layout. Industry-quality tool used by professionals and hobbyists. Tinkercad Free browser-based 3D design and circuit simulation tool from Autodesk. Great for beginners — includes both 3D modeling and circuit design.Professional Tools (Free Student Versions)
Autodesk Fusion (Free Personal Use) Professional 3D CAD/CAM software with a free version for personal, non-commercial use. Parametric modeling, 2D drawings, and more. AutoCAD (Free Student License) The industry-standard 2D/3D CAD software. Free one-year license for students.
CAD Drawing Essentials
Regardless of which software and drawing type you choose, every CAD drawing for this badge should include:
CAD Drawing Checklist
Must-haves for your Requirement 3 drawing
- Drawing created in CAD software (not hand-drawn and scanned).
- Correct scale indicated in the title block.
- Proper dimensions with dimension lines, extension lines, and values.
- Title block filled in with all relevant information.
- Notes explaining materials, construction methods, or component values.
- Bill of materials (for architectural and mechanical options).
- Clean, professional appearance with consistent line weights and text sizes.
When you finish your CAD drawing, save it in the software’s native format and also export a PDF. You will present both your manual and CAD drawings to your counselor in the next requirement.