Req 10 — Moving a Patient
Moving an injured person is one of the most critical decisions in first aid. Done correctly, it can save a life. Done incorrectly, it can cause permanent injury — especially to the spine. The default rule is simple: do not move the victim. There are, however, important exceptions.
When to Move — and When Not To
Move the person ONLY if:
- The scene is immediately dangerous — fire, rising water, gas leak, unstable structure, traffic
- You need access to provide life-saving care — CPR requires the victim to be on a firm, flat surface
- The victim needs to be repositioned for airway management — turning an unconscious person to prevent choking
- You need to reach other, more seriously injured victims (triage situations)
Do NOT move the person if:
- A spinal injury is suspected — unless the scene is dangerous
- The injury could worsen with movement — unstable fractures, internal injuries
- Professional help is on the way — paramedics have proper equipment
- You are unsure — when in doubt, stabilize and wait
Choosing the Right Method
The method you use depends on three factors:
- The victim’s condition: What are their injuries? Is a spine injury possible? Are they conscious?
- Available help: Are you alone, with one partner, or with a group?
- The distance and terrain: How far do you need to move them? What is the ground like?
Emergency Moves (One Rescuer)
These moves are used in immediately dangerous situations when you are alone.
Clothes Drag
The simplest emergency move. Grab the victim’s shirt, jacket, or collar behind their head. Cradle their head between your forearms and drag them backward. This keeps the head and neck relatively aligned.
Blanket Drag
Place a blanket, tarp, or sleeping bag next to the victim. Roll them onto it (log-roll if possible). Drag the blanket.
Firefighter’s Drag
For a smoke-filled room: Stay low to the ground. Tie the victim’s wrists together with a cravat or belt. Straddle the victim, loop their bound wrists over your head, and crawl forward on your hands and knees, dragging them beneath you.
Ankle Drag
Grab both ankles and drag backward. Use only when the surface is smooth and there is no suspected head or spine injury — the head is not supported in this method.
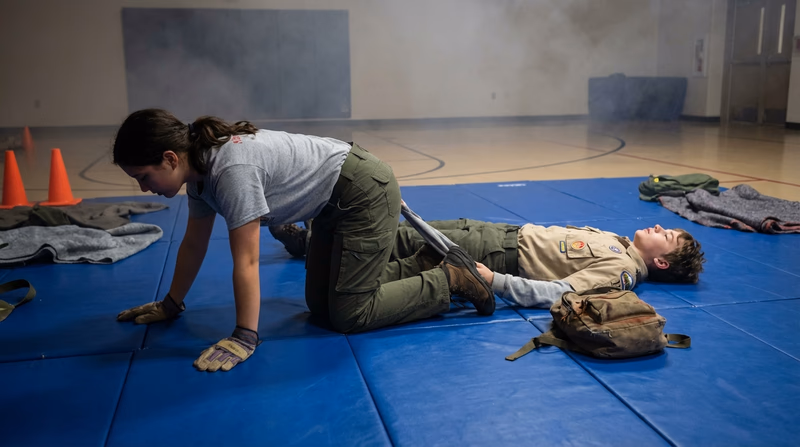
Smoke-Filled Room Rescue
In a fire, smoke and toxic gases rise. Breathable air is near the floor.
Solo rescue:
- Stay low — crawl on your hands and knees.
- Feel the door before opening — if it is hot, do not open it.
- Find the victim. Use the firefighter’s drag or clothes drag to move them.
- Drag them to safety, staying below the smoke line.
Two-person rescue:
- Both rescuers stay low.
- One rescuer takes the shoulders, the other takes the legs.
- Carry the victim low to the ground, crawling or crouching.
- Move quickly to the nearest exit.
Transporting a Person with a Sprained Ankle
A person with a sprained ankle may be able to walk with help — or they may need to be carried.
Assisted walking (one helper): Stand on the injured side. Have the victim put their arm over your shoulders. Support their waist with your arm. They hop on their good leg while you stabilize them.
Two-person assisted walk: One helper on each side. The victim puts an arm over each helper’s shoulders. Helpers support the victim’s waist and match their pace.
Two-person carry (seat carry):
- Face each other behind the victim.
- Each person grabs their own left wrist with their right hand.
- Grab the other person’s right wrist with your left hand, forming a square “seat.”
- Lower the seat behind the victim. Have them sit on your hands and put their arms around your shoulders.
- Stand together and walk in step.
Piggyback carry: For lighter victims on easy terrain. The victim climbs on your back and holds on around your shoulders. Support their thighs with your hands.
Improvised Stretcher
For an unconscious person or someone who cannot bear any weight, an improvised stretcher is the safest way to move them with a group of helpers.
Building the Stretcher
Method 1: Two poles and a blanket or sleeping bag
- Lay two sturdy poles (branches, tent poles, trekking poles lashed together) on the ground about 2 feet apart.
- Place a blanket or opened sleeping bag on the ground.
- Fold one-third of the blanket over one pole. Lay the second pole on the folded section. Fold the remaining third back over the second pole. The victim’s weight will lock the folds in place.
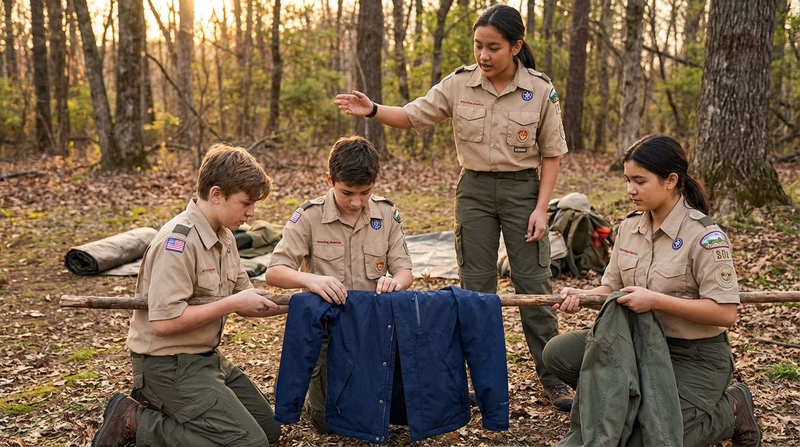
Method 2: Two poles and jackets
- Button or zip two or three jackets closed and turn them inside out.
- Slide the poles through the sleeves.
- The jacket bodies form the bed of the stretcher.
Moving the Patient onto the Stretcher
- Place the stretcher next to the victim.
- With at least three people, use the log-roll technique: one person stabilizes the head and neck, one controls the torso, one controls the legs. Roll the victim onto their side in one smooth motion, slide the stretcher under them, and roll them back onto it.
- Secure the victim to the stretcher with straps or bandages across the chest, hips, and legs.
Carrying the Stretcher
- Use four or more bearers — one at each corner minimum, six is better.
- Walk in step. The lead bearer calls “Step” to synchronize.
- Keep the stretcher level. Going uphill, the victim’s head goes first. Going downhill, feet first (so the head stays elevated).
- Move slowly and steadily — sudden movements cause pain and can worsen injuries.