Req 1d — Airway & Breathing
Of all the things you will learn in first aid, managing the airway is the most critical. A person can survive for days without water and weeks without food — but only about four to six minutes without oxygen before the brain begins to suffer permanent damage. If someone is not breathing, nothing else matters until you fix that.
Why the Airway Comes First
The airway is the path air takes from the nose and mouth down through the throat (pharynx) and into the lungs. If anything blocks that path — the tongue, food, swelling, blood, or vomit — air cannot reach the lungs and the person will die without intervention.
In an unconscious person, the most common airway obstruction is the tongue. When the muscles relax, the tongue can fall backward and block the throat.
Evaluating the Airway
The Look, Listen, and Feel Check
When you approach an unresponsive person:
- Open the airway. Use the head-tilt, chin-lift maneuver: place one hand on the forehead and gently tilt the head back while lifting the chin with your other hand. This moves the tongue away from the back of the throat.
- Look at the chest. Is it rising and falling?
- Listen near the mouth and nose for the sound of breathing.
- Feel for air on your cheek.
Take no more than 10 seconds for this check. If the person is not breathing normally, begin rescue breathing or CPR immediately.
Managing the Airway
Head-Tilt, Chin-Lift
This is the standard technique for opening an airway in someone with no suspected spinal injury:
- Place the palm of one hand on the person’s forehead.
- Place two fingers of your other hand under the bony part of the chin.
- Gently tilt the head back while lifting the chin upward.
- Hold this position while you assess breathing.
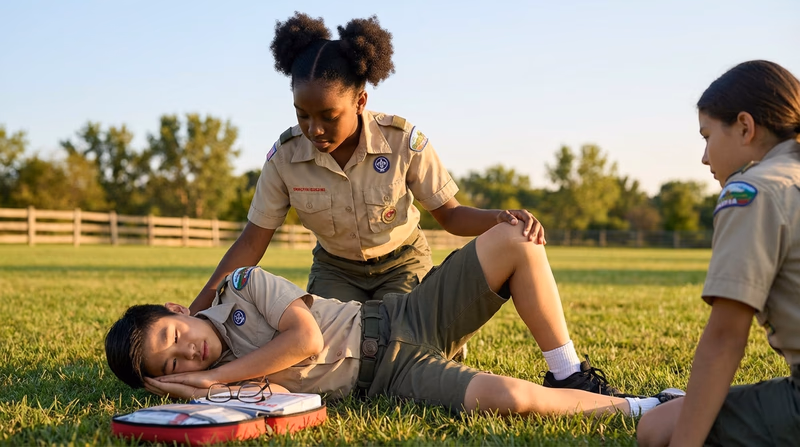
Recovery Position
If a person is breathing on their own but is unconscious, place them in the recovery position to keep the airway open and allow fluids to drain:
- Kneel beside the person.
- Place their arm nearest to you straight out at a right angle.
- Bring their far arm across the chest and hold the back of their hand against their near cheek.
- Bend their far knee and roll them toward you onto their side.
- Adjust the top leg so the knee is at a right angle for stability.
- Tilt the head back slightly to keep the airway open.
Signs of Breathing Problems
Learn to recognize these warning signs:
| Sign | What It Means |
|---|---|
| No chest movement | Not breathing — begin CPR |
| Gasping or gurgling | Partially blocked airway — reposition head, check for obstructions |
| Very fast breathing (>30/min) | Possible shock, anxiety, asthma, or allergic reaction |
| Very slow breathing (<8/min) | Possible drug overdose, head injury, or hypothermia |
| Blue or gray lips/fingernails | Not getting enough oxygen — this is an emergency |
| Noisy breathing (wheezing, stridor) | Airway narrowing — possible asthma or swelling |
Rescue Breathing
If a person has a pulse but is not breathing, provide rescue breathing:
- Ensure the airway is open (head-tilt, chin-lift).
- Place a CPR breathing barrier over the victim’s mouth.
- Pinch the nose shut.
- Give one breath every 5–6 seconds (about 10–12 breaths per minute).
- Each breath should last about 1 second — just enough to make the chest visibly rise.
- Check for a pulse every 2 minutes.
If there is no pulse, switch to full CPR — you will learn that process in Requirement 7a.
