Req 1e — Patient Examination
After you have checked the scene, called for help, and ensured the victim is breathing, the next step is a thorough patient examination. This is your chance to find injuries or conditions that are not immediately obvious — a broken rib hidden under a jacket, a bump on the back of the head, or a medical alert bracelet that tells you the person has diabetes.
The Two-Part Assessment
A thorough examination has two phases:
- Primary assessment — Find and address life-threatening conditions (you already learned this in Req 1a and Req 1d).
- Secondary assessment — A head-to-toe check for injuries and a quick medical history.
The secondary assessment happens only after life threats are handled. If the victim is not breathing or is bleeding severely, deal with that first.
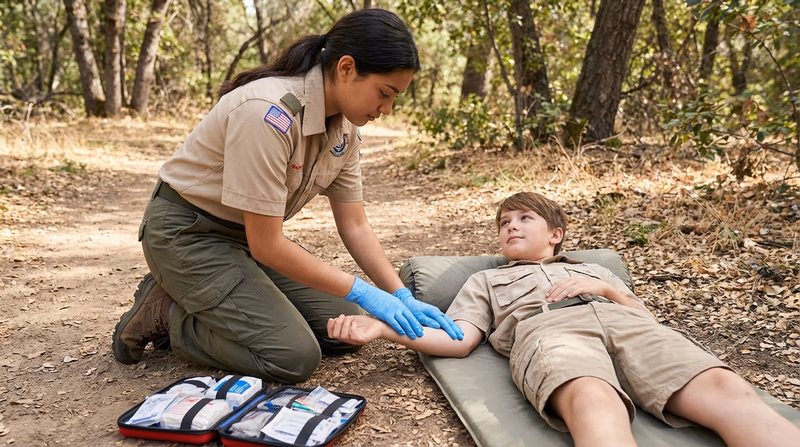
The Head-to-Toe Check
With gloved hands, systematically examine the victim from head to toe. You are looking and feeling for DOTS:
- D — Deformities: Anything that looks out of place — a bent limb, a sunken area of the skull, asymmetry
- O — Open wounds: Cuts, scrapes, punctures, or any break in the skin
- T — Tenderness: Does the person flinch or say “ow” when you touch an area?
- S — Swelling: Puffiness, lumps, or areas that look larger than normal
Step by Step
- Head: Gently feel around the entire skull, including the back. Check the ears and nose for fluid or bleeding (which could indicate a skull fracture). Look at the pupils — are they equal in size?
- Neck: Feel along the spine at the back of the neck. Check for a medical alert necklace. Ask if there is neck pain before moving the head.
- Shoulders and collarbone: Press gently on each collarbone and squeeze the shoulders.
- Chest: Place your hands on both sides of the ribcage and gently compress. Ask the victim to take a deep breath — does it hurt?
- Abdomen: Press gently on all four quadrants of the belly. It should be soft. A rigid, hard abdomen is a sign of internal injury.
- Pelvis: Press gently inward on both hip bones. Do this once only — repeated compression of an injured pelvis can worsen internal bleeding.
- Legs: Run your hands along each leg from hip to ankle. Check for deformity and compare both sides. Can the victim wiggle their toes?
- Arms: Run your hands along each arm from shoulder to fingertips. Can the victim squeeze your fingers?
- Back: If the victim can be safely rolled (no suspected spine injury), check the back for wounds or deformities.
Gathering a Medical History: SAMPLE
While examining the victim (or while a partner does the exam), gather a SAMPLE history. This information will be extremely valuable for the paramedics when they arrive.
| Letter | Question | Why It Matters |
|---|---|---|
| S — Signs & Symptoms | “What hurts? How do you feel?” | Tells you what is wrong from the victim’s perspective |
| A — Allergies | “Are you allergic to anything?” | Medications, foods, bee stings, latex |
| M — Medications | “Do you take any medications?” | May explain symptoms or affect treatment |
| P — Past medical history | “Do you have any medical conditions?” | Diabetes, asthma, heart disease, seizures |
| L — Last oral intake | “When did you last eat or drink?” | Important for surgery decisions and diabetic emergencies |
| E — Events leading up | “What happened just before this?” | Helps identify the cause — did they faint, trip, feel dizzy? |
Recording What You Find
Write down or remember everything you observe. When paramedics arrive, give them a clear, organized report:
- Who the victim is (name, age if known)
- What happened (mechanism of injury)
- What you found (injuries, vital signs, SAMPLE history)
- What you did (first aid provided)
- When key events occurred (time of injury, time you arrived, any changes in condition)