Req 4d — Magnetic North-South Lines
In Req 4c, you learned that the gap between true north and magnetic north — declination — can throw your bearings off significantly. Drawing magnetic north-south lines directly on your map is the most practical way to eliminate that problem. Once these lines are in place, you align your compass with them instead of the map’s printed grid lines, and declination is automatically corrected every time you take a bearing.
Why Orienteers Draw These Lines
Standard orienteering maps are printed with magnetic north lines already on them. But USGS topographic maps — the kind you will encounter most often outside of formal events — are oriented to true north. If you use a USGS map without correction, every bearing will be off by the declination angle. Drawing magnetic north lines converts the map into a tool that works directly with your compass.
How to Draw Magnetic North-South Lines
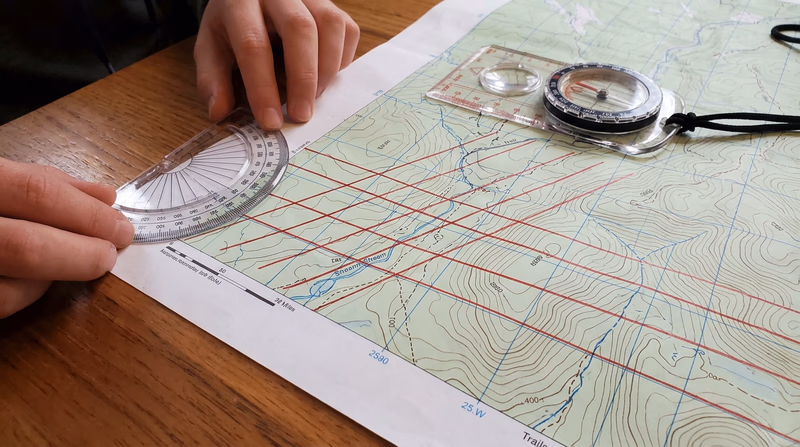
You will need your topographic map, a long straightedge (a yardstick works well), a pencil, and a protractor.
Find the declination for your map area. Check the map’s declination diagram (usually in the bottom margin) or use the NOAA calculator you learned about in Req 4c.
Choose a starting point. Pick a point along the left or right edge of the map where a printed north-south grid line (or the map border) intersects.
Measure the declination angle. Place your protractor at the starting point. If the declination is east, measure that many degrees clockwise from the grid line. If west, measure counterclockwise.
Draw the first line. Using your straightedge, draw a line through the starting point at the measured angle, extending across the full map. This is your first magnetic north-south line.
Draw parallel lines. Move your straightedge and draw parallel lines across the map, spaced about 1–2 inches (2.5–5 cm) apart. These do not need to be perfectly even — close enough to provide reference lines wherever you place your compass on the map.
Label the lines. Write “MN” (magnetic north) with an arrow at the top of one line so you remember what these lines represent.
Using Your Magnetic North Lines
Once the lines are drawn, the process from Req 3b changes in one small but critical way:
Before (without MN lines): Rotate the bezel until the orienting lines align with the map’s north-south grid lines, then apply a declination correction.
After (with MN lines): Rotate the bezel until the orienting lines align with your magnetic north-south lines. No further correction needed — the declination is baked into the line angle.
This saves time and eliminates a common source of error. In competition, where you are taking bearings quickly and under pressure, one fewer step means one fewer place to make a mistake.