Req 4e–4f — Distances and Orienting a Map
These two skills are the final pieces of the map-reading puzzle. Measuring distance tells you how far you need to go. Orienting the map tells you which way the world lines up around you. Together with bearings and declination, you now have a complete navigation toolkit.
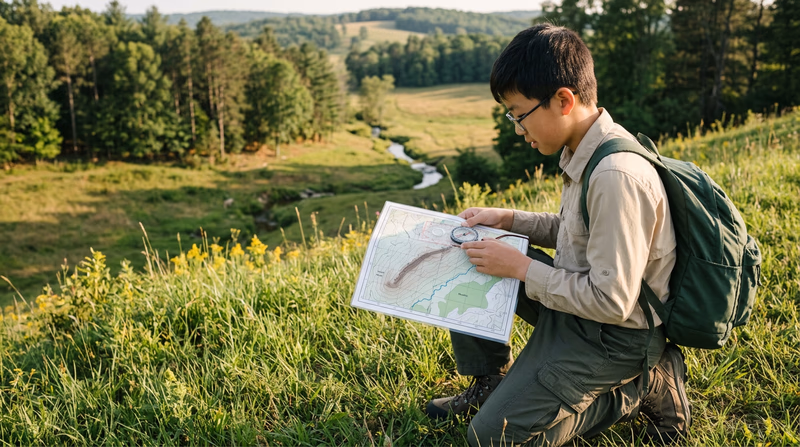
Measuring Distances on a Map
Your orienteering compass baseplate has ruler markings along its edges — usually in millimeters, plus scales for common map ratios. Here is how to use them:
Straight-Line Distance
- Place the edge of the baseplate so it connects your starting point and your destination on the map.
- Read the distance using the ruler markings. If your map scale is 1:25,000, use the 1:25,000 scale on the compass (if present). Otherwise, measure in millimeters and convert.
Converting Millimeters to Real Distance
Every map has a scale. Common scales:
| Map Scale | 1 mm on map = | 1 cm on map = |
|---|---|---|
| 1:10,000 | 10 meters | 100 meters |
| 1:15,000 | 15 meters | 150 meters |
| 1:24,000 (USGS) | 24 meters | 240 meters |
| 1:25,000 | 25 meters | 250 meters |
So on a 1:25,000 map, if the distance between two points is 40 mm (4 cm), the real-world distance is 4 × 250 = 1,000 meters (1 kilometer).
Curved or Irregular Routes
Real routes rarely follow straight lines. To measure a winding trail or stream:
- Use a piece of string or thread. Lay it along the curved route on the map, then straighten it against the compass ruler.
- Alternatively, “walk” the compass edge along the route in short straight segments, adding up each segment.
Orienting a Map
An oriented map is one that has been rotated so that north on the map matches north in the real world. When your map is oriented, everything on it lines up with what you see around you — the trail to your left on the map is also to your left in real life, the hill ahead on the map is ahead in the terrain.
Step-by-Step: Orienting with a Compass
- Set the bezel to 0° (north). Rotate the bezel so the N mark aligns with the index line.
- Place the compass on the map. Align the baseplate edge along a north-south line — either the map’s grid line or your magnetic north lines from Req 4d.
- Rotate the map and compass together (do not move the compass on the map) until the magnetic needle aligns inside the orienting arrow — red in the shed.
- The map is now oriented. Every feature on the map should correspond to the real terrain around you.
Orienting Without a Compass
In a pinch, you can orient a map without a compass:
- Use visible landmarks. If you can see a distinctive feature (a hilltop, a lake, a building) and identify it on the map, rotate the map until that feature lines up in the correct direction.
- Use the sun. Before noon, the sun is roughly east; at noon, roughly south; after noon, roughly west. This gives you a general orientation.
Map Skills Self-Check
Before you head to the field, verify you can do all of these
- Read contour lines: Identify hills, valleys, ridges, saddles, and depressions (Req 4a).
- Name 10 map symbols: Point them out on a real topo map (Req 4b).
- Explain declination: Know your local value and why it matters (Req 4c).
- Draw magnetic north lines: Mark them on any USGS topo map (Req 4d).
- Measure distances: Use your compass baseplate to calculate real-world distances (Req 4e).
- Orient a map: Rotate it so north-on-map equals north-in-the-field (Req 4f).