Req 6 — Advanced Projects
This requirement pushes your skills further. You will choose two of the five options below, each involving a different advanced technique. Read through all five before deciding — pick the two that excite you the most or that stretch your abilities in new directions.
Option A: Beveled or Rounded Edges
A bevel is an angled cut along an edge — instead of a sharp 90-degree corner, the edge slopes at an angle (commonly 30° or 45°). A rounded edge (also called a “roundover”) turns a sharp corner into a smooth curve.
Tools for Bevels and Roundovers
- Block plane set at an angle for small bevels
- Hand plane with a tilted fence for consistent bevel angles
- Spokeshave for rounded edges and curves
- Rasp and file for shaping curves, followed by sanding
- Router with a roundover bit (if power tools are available)
Project Ideas
- A cutting board with beveled edges for a comfortable grip
- A picture frame with a decorative beveled profile
- A serving tray with rounded edges for safe handling
- A wall shelf with a bullnose (fully rounded) front edge
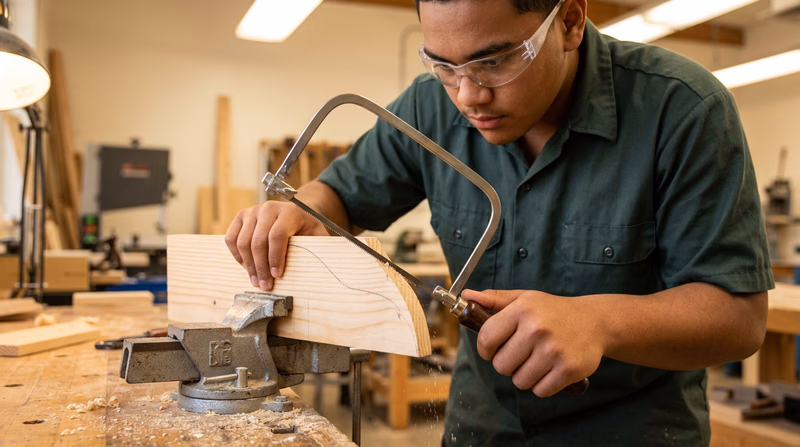
Option B: Curved or Incised Cuttings
Curved cutting means shaping wood along a curved line — think of the graceful legs of a chair or the arched top of a mirror frame. Incised cutting means carving a design into the surface of the wood without cutting all the way through.
Tools for Curves and Incising
- Coping saw — The go-to hand tool for cutting curves. Its thin, narrow blade can follow tight radius curves.
- Bow saw — For larger, gentler curves in thicker stock
- Chisels and gouges — For incised (carved) designs
- Rasp, file, and sandpaper — For smoothing curves after cutting
- Scroll saw (if power tools are available) — For intricate curved cuts
How to Cut a Curve
- Draw your curve on the wood (use a flexible ruler, French curve, or trace around a round object).
- Secure the workpiece in a vise.
- Cut on the waste side of the line with a coping saw, rotating the blade to follow the curve.
- Smooth the cut edge with a rasp, then a file, then sandpaper.
Project Ideas
- A decorative wall bracket with curved scrollwork
- A nameplate with incised lettering
- A small shelf with an arched front rail
- A bread board with curved handles cut into the ends
Option C: Miter, Dowel, or Mortise and Tenon Joints
These joints are the building blocks of fine woodworking. Each serves a different purpose and tests a different skill.
Miter Joints
A miter is a joint where two pieces meet at an angle — most commonly 45 degrees, forming a 90-degree corner. Picture frames are the classic example.
- Cut miters with a back saw and a miter box for accuracy.
- Miters look elegant but are weak on their own. Strengthen them with glue plus splines, dowels, or nails.
Dowel Joints
Dowel joints use round wooden pegs (dowels) inserted into matching holes in both pieces. They are strong, hidden from view, and relatively easy to make.
- Use a brace and bit or drill press to bore holes.
- Mark hole locations precisely using dowel centers (small metal points that transfer the mark from one piece to the other).
- Use fluted dowels — the grooves allow glue and air to escape.
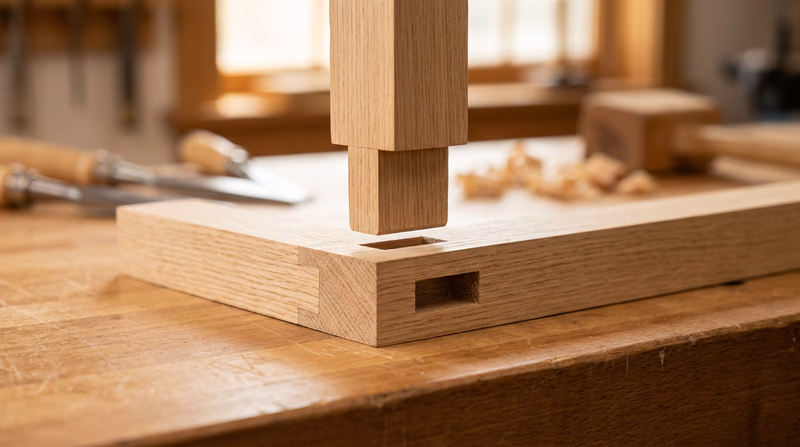
Mortise and Tenon Joints
The mortise and tenon is one of the oldest and strongest joints in woodworking. A rectangular projection (the tenon) on one piece fits into a matching rectangular hole (the mortise) in the other.
- Cut the tenon with a back saw — saw the cheeks (sides) and shoulders.
- Cut the mortise by drilling out most of the waste with a brace and bit, then chiseling the sides flat and square.
- A well-fitted mortise and tenon should slide together snugly with hand pressure.
Project Ideas
- A picture frame (miter joints)
- A small table or stool (mortise and tenon)
- A box with dowel-joined corners
- A wall-mounted coat rack with doweled hooks
Option D: Hinged Cabinet or Box
Inset hinges (also called “mortised hinges”) sit flush with the surface of the wood instead of being screwed to the face. Installing them requires careful chisel work to cut a shallow recess (a “hinge mortise”) in both the door and the frame.
Installing Inset Hinges
- Position the hinge on the door edge and trace around it with a sharp pencil or marking knife.
- Set a marking gauge to the thickness of the hinge leaf and scribe a depth line.
- Use a sharp chisel to carefully remove wood within the traced outline to the scribed depth.
- Test-fit the hinge — it should sit perfectly flush with the surface.
- Mark and drill pilot holes for the screws.
- Repeat on the cabinet frame or box.
- Attach the hinges and test the door swing.
Project Ideas
- A keepsake or jewelry box with a hinged lid
- A small wall cabinet for a bathroom or workshop
- A storage chest or blanket box
- A desktop organizer with a hinged compartment
Option E: Service Project
This option combines your woodworking skills with service to others. Many organizations coordinate toy-building drives, and your skills can bring real joy to children who need it.
Toy-Building Tips
- Choose simple, safe designs with no small parts (choking hazard for young children).
- Sand all surfaces and edges until they are completely smooth — no splinters or sharp corners.
- Use non-toxic finishes only (food-safe mineral oil, beeswax, or non-toxic paint).
- Classic toy designs include: cars and trucks, pull toys, building blocks, puzzles, and animal figures.
Other Service Project Ideas
- Build shelving or storage for a food bank or clothing closet
- Construct raised garden beds for a community garden
- Build Little Free Libraries for neighborhood book exchanges
- Make birdhouses or bat boxes for a nature preserve